

Docker容器应用的开发和运行离不开可靠的镜像管理,虽然Docker官方也提供了公共的镜像仓库,但是从安全和效率等方面考虑,部署私有环境内的Registry也是非常必要的。Harbor是由VMware公司开源的企业级的Docker Registry管理项目,它包括权限管理(RBAC)、LDAP、日志审核、管理界面、自我注册、镜像复制和中文支持等功能
一、环境准备
Harbor的所有服务组件都是在Docker中部署的,所以官方安装使用Docker-compose快速部署,所以需要安装Docker、Docker-compose
- 安装Docker 跳转至 CentOS 7上安装Docker
- 安装 Docker-compose 跳转至 Docker官网文档
二、Harbor服务搭建
1. 下载Harbor安装文件
从GitHub上https://github.com/goharbor/harbor/releases下载指定版本的安装包
[root@localhost ~]# mkdir -p /opt/harbor
[root@localhost ~]# cd /harbor/
[root@localhost harbor]# yum -y install wget
[root@localhost harbor]# wget https://github.com/vmware/harbor/releases/download/v2.2.3/harbor-online-installer-v2.2.3.tgz
[root@localhost harbor]# ls
harbor-online-installer-v2.2.3.tgz
[root@localhost harbor]# tar -zxf harbor-online-installer-v2.2.3.tgz
2. 配置Harbor
[root@localhost harbor]# ls
harbor  harbor-online-installer-v2.2.3.tgz
[root@localhost harbor]# cd harbor
[root@localhost harbor]# ls
common  docker-compose.notary.yml  docker-compose.yml  harbor_1_1_0_template  harbor.cfg  install.sh  LICENSE  NOTICE  prepare  upgrade
[root@localhost harbor]# vi harbor.cfg
配置详情
# Harbor的配置文件
# 访问管理 UI 和注册表服务的 IP 地址或主机名。
# 不要使用 localhost 或 127.0.0.1,因为 Harbor 需要被外部客户端访问。
hostname: 10.0.0.110

# http 相关配置
http:
  # http 端口,默认为 80。如果启用 https,此端口将重定向到 https 端口
  port: 80

# https 相关配置
#https:
#  # harbor 的 https端口,默认是443
#  port: 443
#  # nginx的cert和key文件路径
#  certificate: /your/certificate/path
#  private_key: /your/private/key/path

# # 取消注释以下将启用所有harbor组件之间的 tls 通信
# internal_tls:
#   # 设置为 true 表示启用内部 tls
#   enabled: true
#   # 将您的证书和密钥文件放在目录中
#   dir: /etc/harbor/tls/internal

# 如果要启用外部代理,请取消注释 external_url
# 当它启用时,主机名将不再使用
# external_url: https://reg.mydomain.com:8433

# Harbor admin 初始密码
# 只适用于第一次安装harbor
# 记住在启动 Harbor 后从 UI 更改管理员密码。
harbor_admin_password: Harbor12345

# Harbor 数据库配置
database:
  # Harbor DB的root用户密码,在任何生产使用之前更改此设置。
  password: root123
  # 空闲连接池中的最大连接数。 如果它 <=0,则不保留空闲连接。
  max_idle_conns: 50
  # 到数据库的最大打开连接数。 如果它 <= 0,则对打开的连接数没有限制。
  # 注意:harbor 的 postgres 的默认连接数是 1024。
  max_open_conns: 1000

# 默认挂载数据卷 volume
data_volume: /data

# 默认情况下,Harbor Storage 设置在本地文件系统上使用 /data 目录
# 取消注释 storage_service 设置 如果要使用外部存储
# storage_service:
#   # ca_bundle 是自定义根 ca 证书的路径,它将被注入到信任库中
#   # 注册表和图表存储库的容器。当用户使用自签名证书托管内部存储时,通常需要这样做。
#   ca_bundle:

#   # 存储后端,默认为文件系统,选项包括文件系统、azure、gcs、s3、swift 和 oss
#   # 有关此配置的更多信息,请参阅 https://docs.docker.com/registry/configuration/
#   filesystem:
#     maxthreads: 100
#   # 当您想禁用注册表重定向时,将 disable 设置为 true
#   redirect:
#     disabled: false

# 简单的配置
#
# Trivy DB 包含来自 NVD、Red Hat 和许多其他上游漏洞数据库的漏洞信息。
# 它由 Trivy 从 GitHub 发布页面下载 https://github.com/aquasecurity/trivy-db/releases and cached
# 在本地文件系统中。此外,数据库包含更新时间戳,因此 Trivy 可以检测它是否
# 应该从 Internet 下载更新的版本或使用缓存的版本。目前,数据库每更新一次
# 12 小时并作为新版本发布到 GitHub。
trivy:
  # ignoreUnfixed 仅显示已修复漏洞的标志
  ignore_unfixed: false
  # skipUpdate 从 GitHub 启用或禁用 Trivy DB 下载的标志
  #
  # 您可能希望在测试或 CI/CD 环境中启用此标志以避免 GitHub 速率限制问题。
  # 如果启用了该标志,您必须下载 `trivy-offline.tar.gz` 存档, 提取 `trivy.db` 和
  # `metadata.json` 文件并将它们挂载到 `/home/scanner/.cache/trivy/db` 路径中。
  skip_update: false
  #
  # insecure 跳过验证注册证书的标志
  insecure: false
  # github_token 用于下载 Trivy DB 的 GitHub 访问令牌
  #
  # 来自 GitHub 的匿名下载受到每小时 60 个请求的限制。通常这样的速率限制就足够了
  # 用于生产操作。如果由于任何原因这还不够,您可以将速率限制增加到 5000
  # 通过指定 GitHub 访问令牌每小时请求数。有关 GitHub 速率限制的更多详细信息,请咨询
  # https://developer.github.com/v3/#rate-limiting
  #
  # 您可以按照以下说明创建 GitHub 令牌
  # https://help.github.com/en/github/authenticating-to-github/creating-a-personal-access-token-for-the-command-line
  #
  # github_token: xxx

jobservice:
  # 作业服务中作业工人的最大数量
  max_job_workers: 10

notification:
  # Webhook 作业的最大重试次数
  webhook_job_max_retry: 10

chart:
  # 将 absolute_url 的值更改为 enabled 可以启用图表中的绝对 url
  absolute_url: disabled

# 日志配置
log:
  # 选项是 debug, info, warning, error, fatal
  level: info
  # configs for logs in local storage
  local:
    # 日志文件在被删除之前旋转 log_rotate_count 次。如果计数为 0,则删除旧版本而不是轮换。
    rotate_count: 50
    # 仅当日志文件增长到大于 log_rotate_size 字节时才会轮换。如果 size 后跟 k,则假定大小以千字节为单位。
    # 如果使用M,则大小以兆字节为单位,如果使用G,则大小以千兆字节为单位。所以大小为 100、大小为 100k、大小为 100M 和大小为 100G
    # 都是有效的。
    rotate_size: 200M
    # 主机上存储日志的目录
    location: /var/log/harbor

  # 取消注释以下行以启用外部系统日志端点。
  # external_endpoint:
  #   # 用于将日志传输到外部端点的协议,选项为 tcp 或 udp
  #   protocol: tcp
  #   # 外部端点的主机
  #   host: localhost
  #   # 外部端点端口
  #   port: 5140

# 此属性用于迁移器检测 .cfg 文件的版本,请勿修改!
_version: 2.2.0

# 如果使用外部数据库,请取消注释 external_database。
# external_database:
#   harbor:
#     host: harbor_db_host
#     port: harbor_db_port
#     db_name: harbor_db_name
#     username: harbor_db_username
#     password: harbor_db_password
#     ssl_mode: disable
#     max_idle_conns: 2
#     max_open_conns: 0
#   notary_signer:
#     host: notary_signer_db_host
#     port: notary_signer_db_port
#     db_name: notary_signer_db_name
#     username: notary_signer_db_username
#     password: notary_signer_db_password
#     ssl_mode: disable
#   notary_server:
#     host: notary_server_db_host
#     port: notary_server_db_port
#     db_name: notary_server_db_name
#     username: notary_server_db_username
#     password: notary_server_db_password
#     ssl_mode: disable

# 如果使用外部 Redis 服务器,请取消注释 external_redis
# external_redis:
#   # support redis, redis+sentinel
#   # host for redis: <host_redis>:<port_redis>
#   # host for redis+sentinel:
#   #  <host_sentinel1>:<port_sentinel1>,<host_sentinel2>:<port_sentinel2>,<host_sentinel3>:<port_sentinel3>
#   host: redis:6379
#   password:
#   # sentinel_master_set must be set to support redis+sentinel
#   #sentinel_master_set:
#   # db_index 0 is for core, it's unchangeable
#   registry_db_index: 1
#   jobservice_db_index: 2
#   chartmuseum_db_index: 3
#   trivy_db_index: 5
#   idle_timeout_seconds: 30

# 取消注释 uaa 以信任通过自签名证书托管的 uaa 实例的证书。
# uaa:
#   ca_file: /path/to/ca

# 全局代理
# 为组件配置 http 代理,例如 http://my.proxy.com:3128
# 组件不需要通过 http 代理相互连接。
# 如果要禁用代理,请从 `components` 数组中删除组件
# 为了它。如果要使用代理进行复制,必须启用代理
# 对于核心和作业服务,并设置 `http_proxy` 和 `https_proxy`。
# 将域添加到 `no_proxy` 字段,当您要禁用代理时
# 对于一些特殊的注册表。

proxy:
  http_proxy:
  https_proxy:
  no_proxy:
  components:
    - core
    - jobservice
    - trivy

# metric:
#   enabled: false
#   port: 9090
#   path: /metrics
3. 打包并启动Harbor
修改完配置文件后,在的当前目录执行./install.sh,Harbor服务就会根据当期目录下的docker-compose.yml开始下载依赖的镜像,检测并按照顺序依次启动各个服务
[root@localhost harbor]# ./install.sh
Harbor依赖的镜像及启动服务如下:
[root@bigdata0 harbor]# docker-compose ps
      Name                     Command                  State                        Ports
------------------------------------------------------------------------------------------------------------
harbor-core         /harbor/entrypoint.sh            Up (healthy)
harbor-db           /docker-entrypoint.sh            Up (healthy)
harbor-jobservice   /harbor/entrypoint.sh            Up (healthy)
harbor-log          /bin/sh -c /usr/local/bin/ ...   Up (healthy)   127.0.0.1:1514->10514/tcp
harbor-portal       nginx -g daemon off;             Up (healthy)
nginx               nginx -g daemon off;             Up (healthy)   0.0.0.0:5000->8080/tcp,:::5000->8080/tcp
redis               redis-server /etc/redis.conf     Up (healthy)
registry            /home/harbor/entrypoint.sh       Up (healthy)
registryctl         /home/harbor/start.sh            Up (healthy)
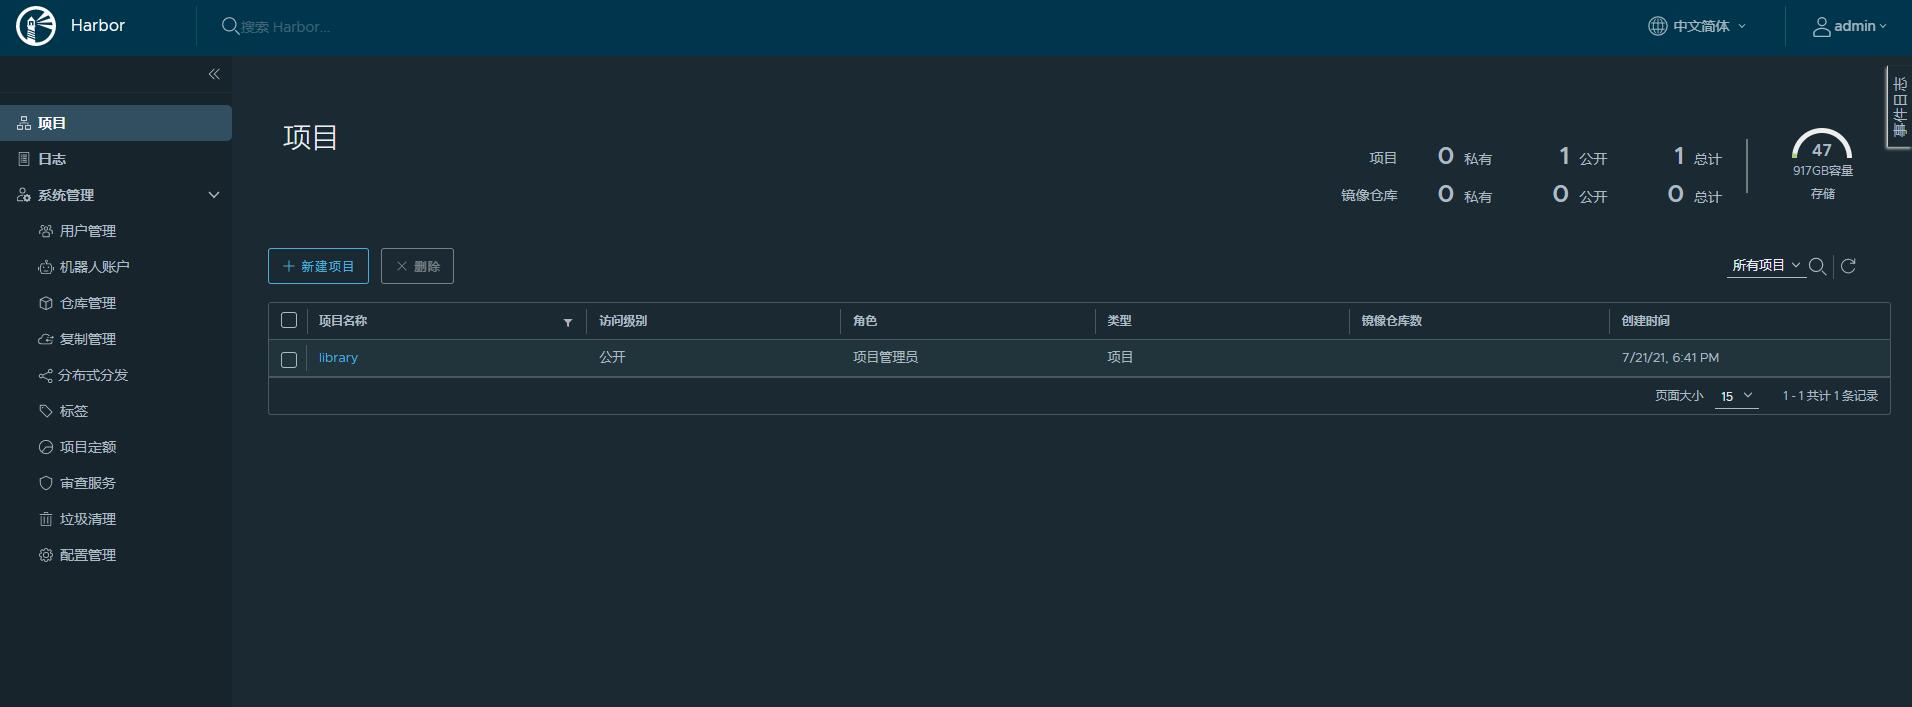
三、Harbor仓库使用
1. 登录Web Harbor

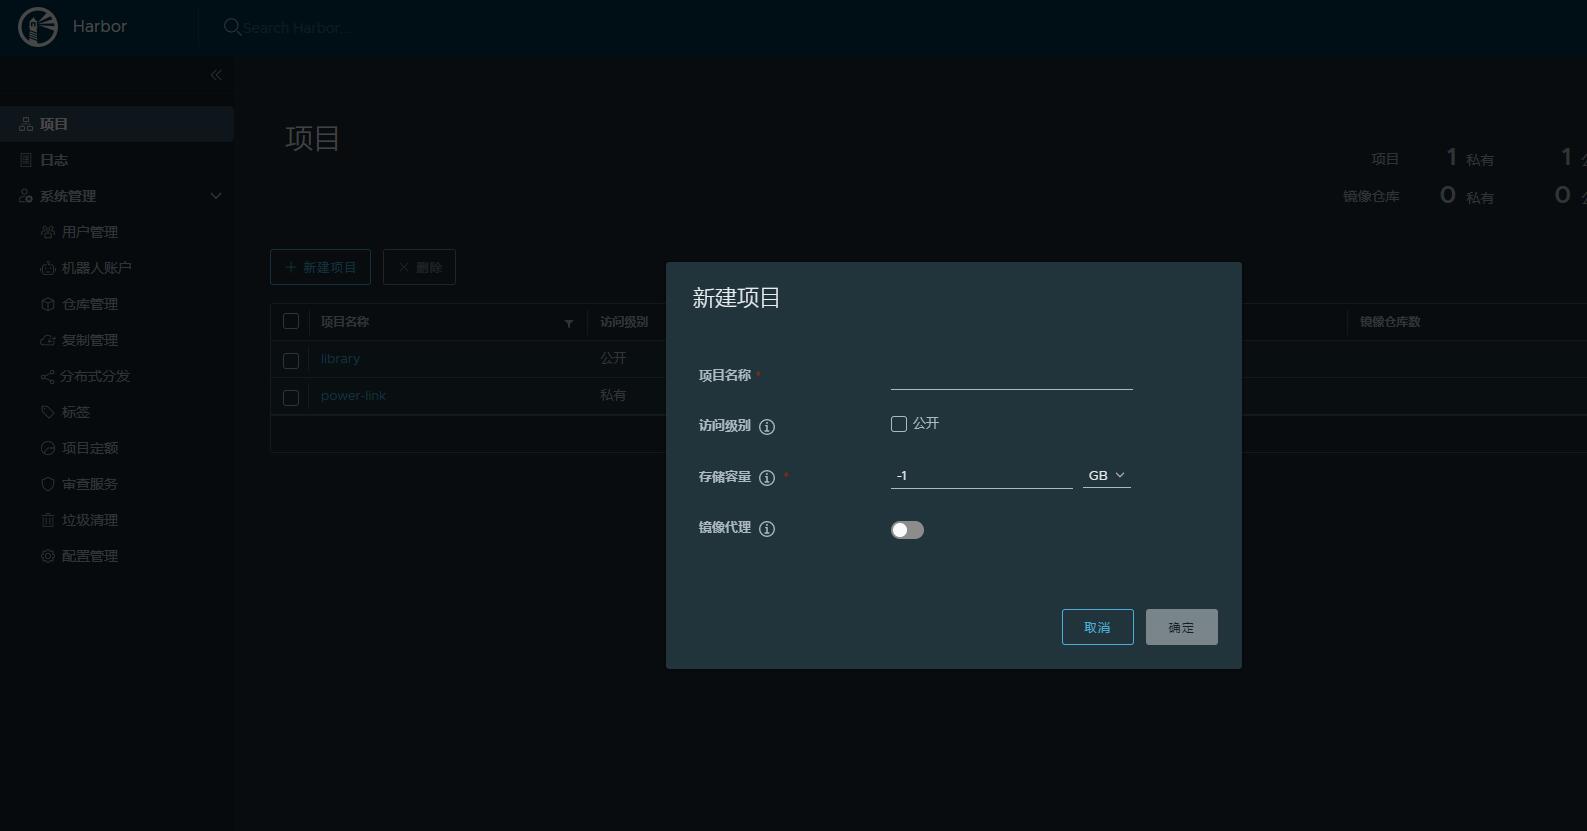
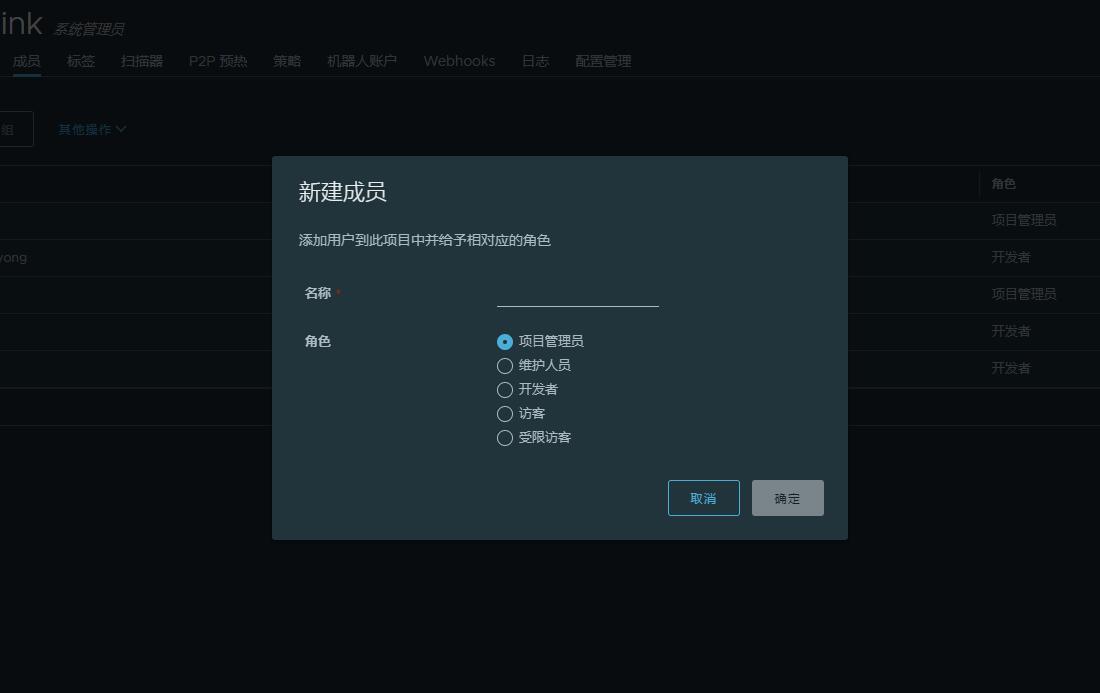
2. 使用


-5f8be2718c3045be81e0fd4b40da8b65.JPG)
-3e638f6751364e5e9e0cfe3c2af2cc17.JPG)